Setup MO2 portable instance
Warning
These steps must be done after copying game files to the stock_game.
Note
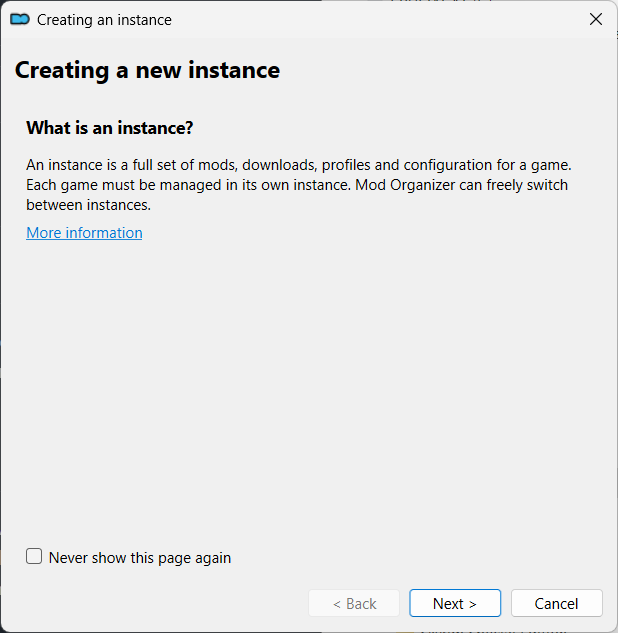
The Creating a new instance wizard will be shown the first time you are running MO2.
What is an instance?
Click Next >.
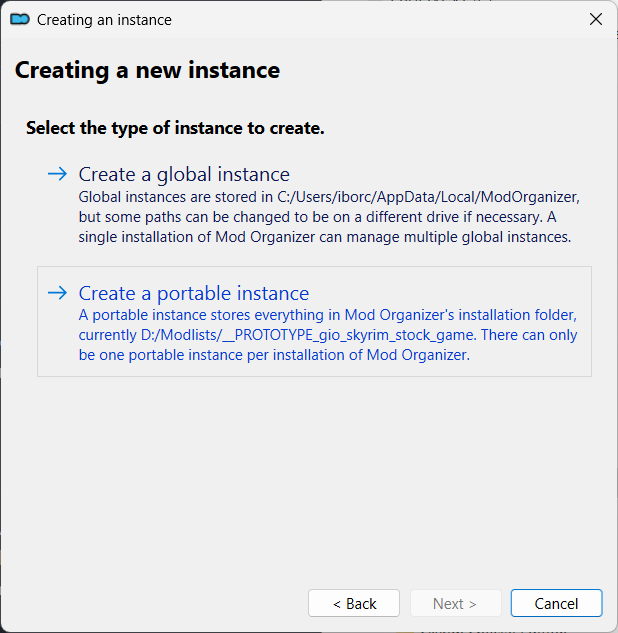
Select the type of instance to create
Click -> Create a portable instance.
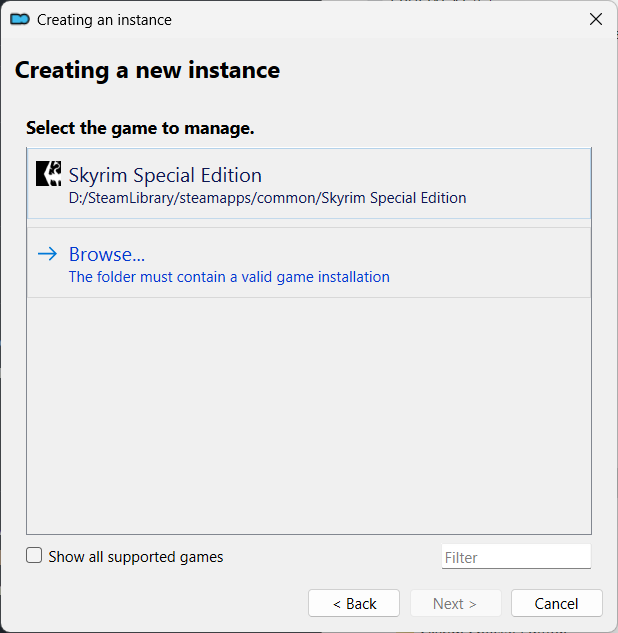
Select the game to manage
Click -> Browse and then select the stock_game folder.
Check path was correctly set
From the Select the game edition page, click the < Back button to verify that the
correct path was selected.
Now click Next > to return to the Select the game edition page.
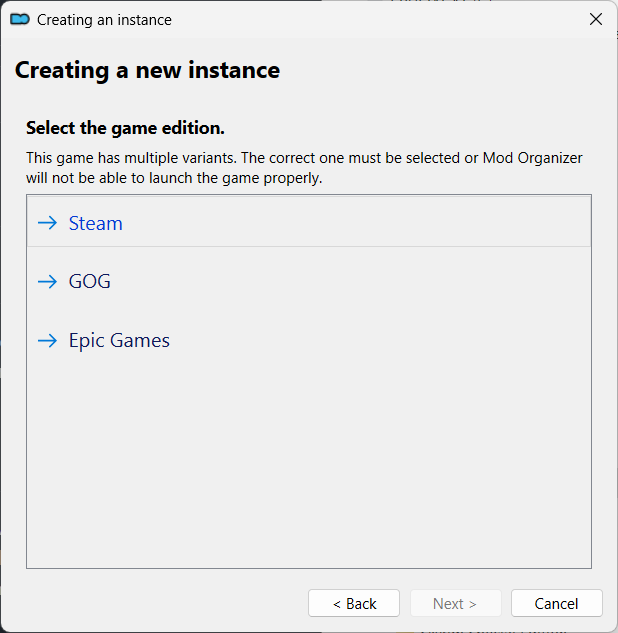
Select the game edition
Click -> Steam.
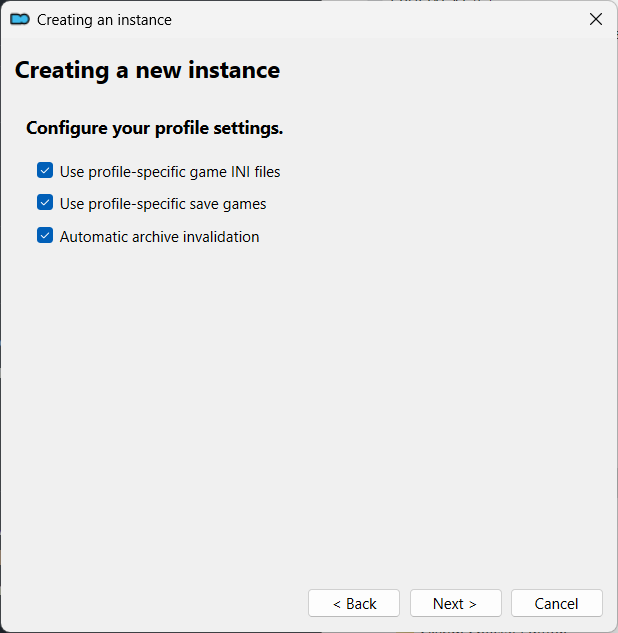
Configure your profile settings
Check all the checkboxes
- Use profile-specific game INI files
- Use profile-specific save games
- Automatic archive invalidation
Click Next >.
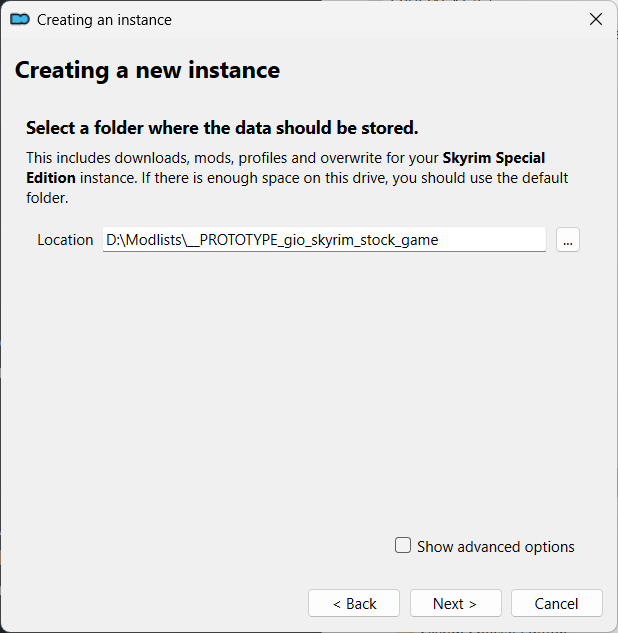
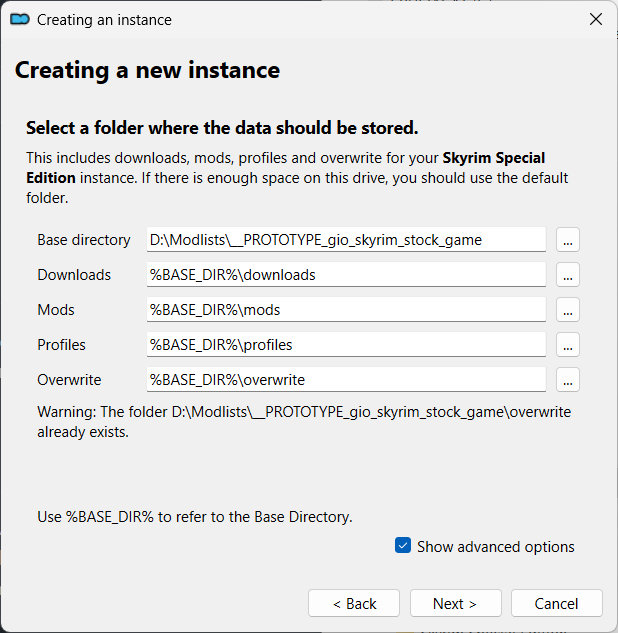
Select a folder where the data should be stored
Advanced options
By default, the Location is set to the folder that contains the ModOrganizer.exe executable.
Checking Show advanced options allows you to tweak the locations of downloads,
mods, profiles and overwrite.
Leave everything at their defaults.
Click Next >.
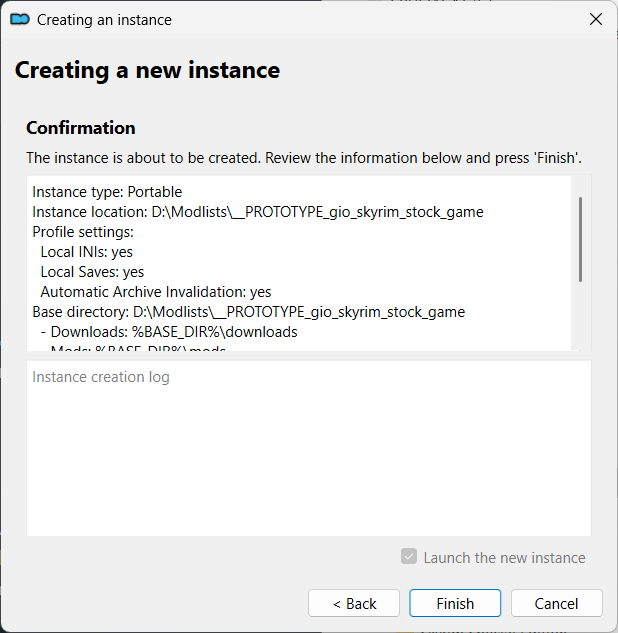
Confirmation
Click Finish.
Show tutorial?
Click No.
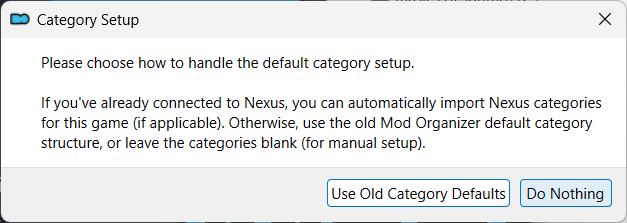
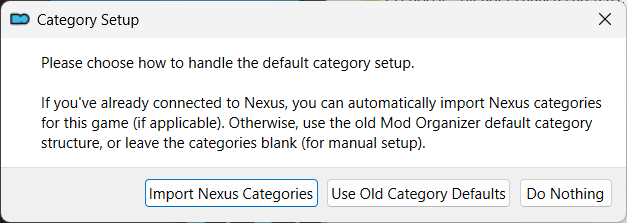
Category Setup
Click Import Nexus Categories.
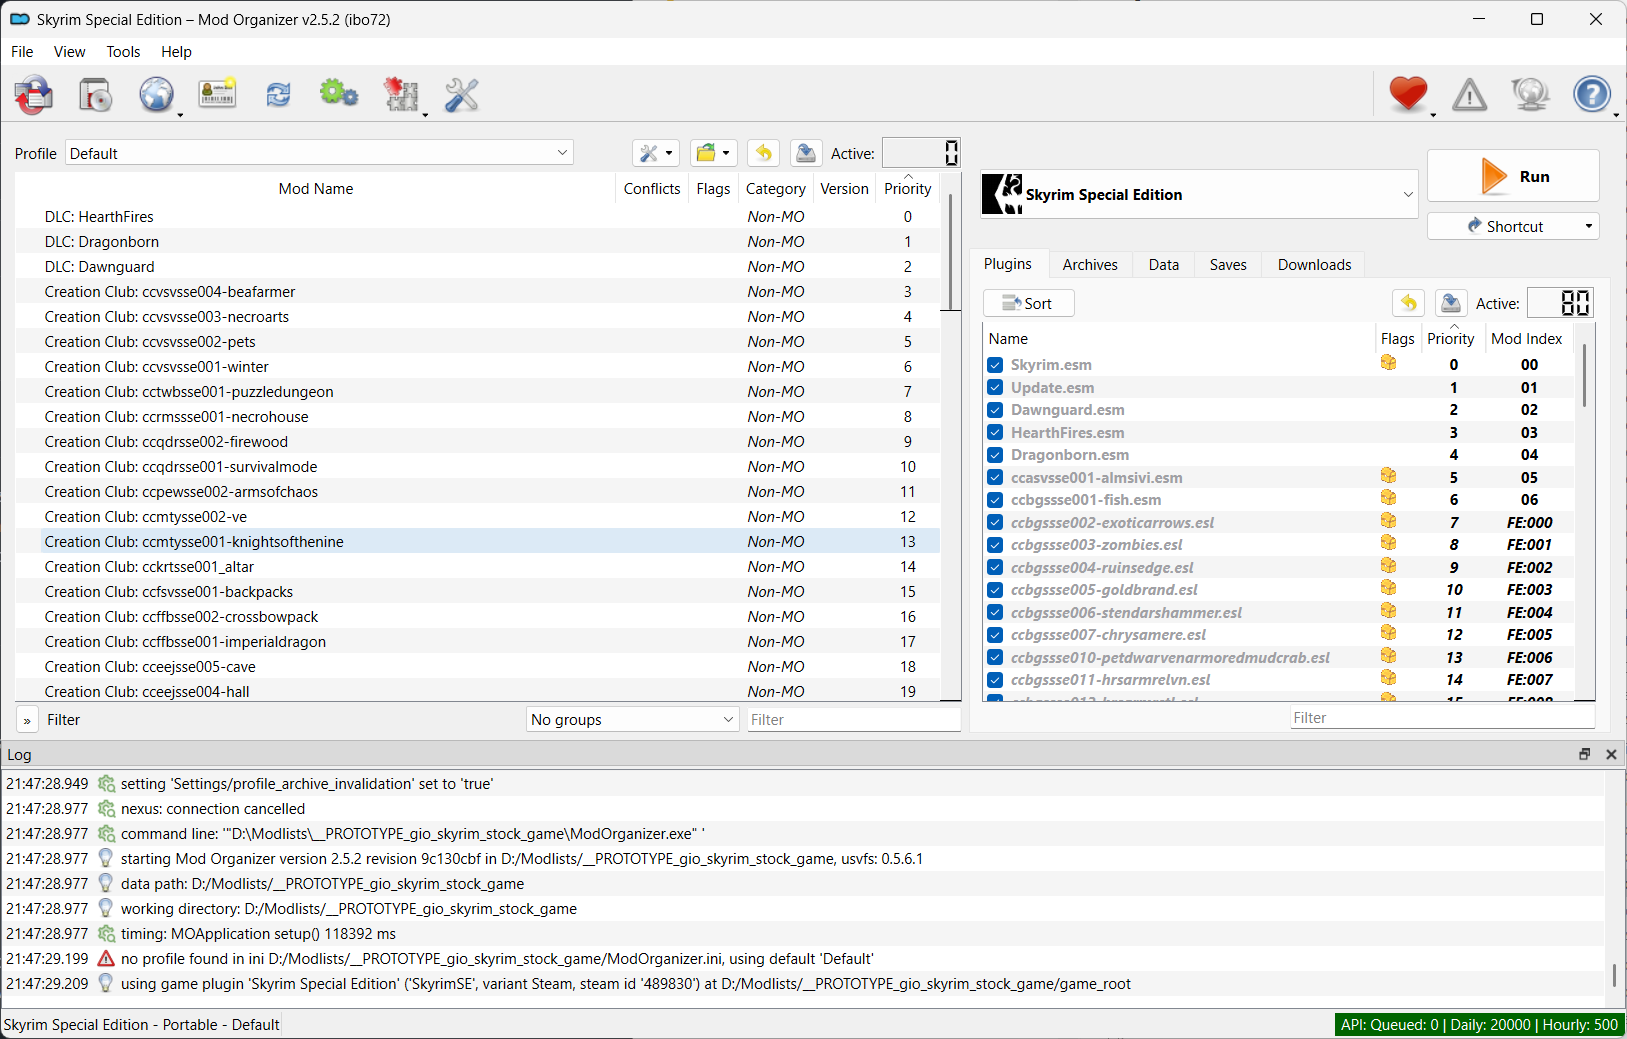
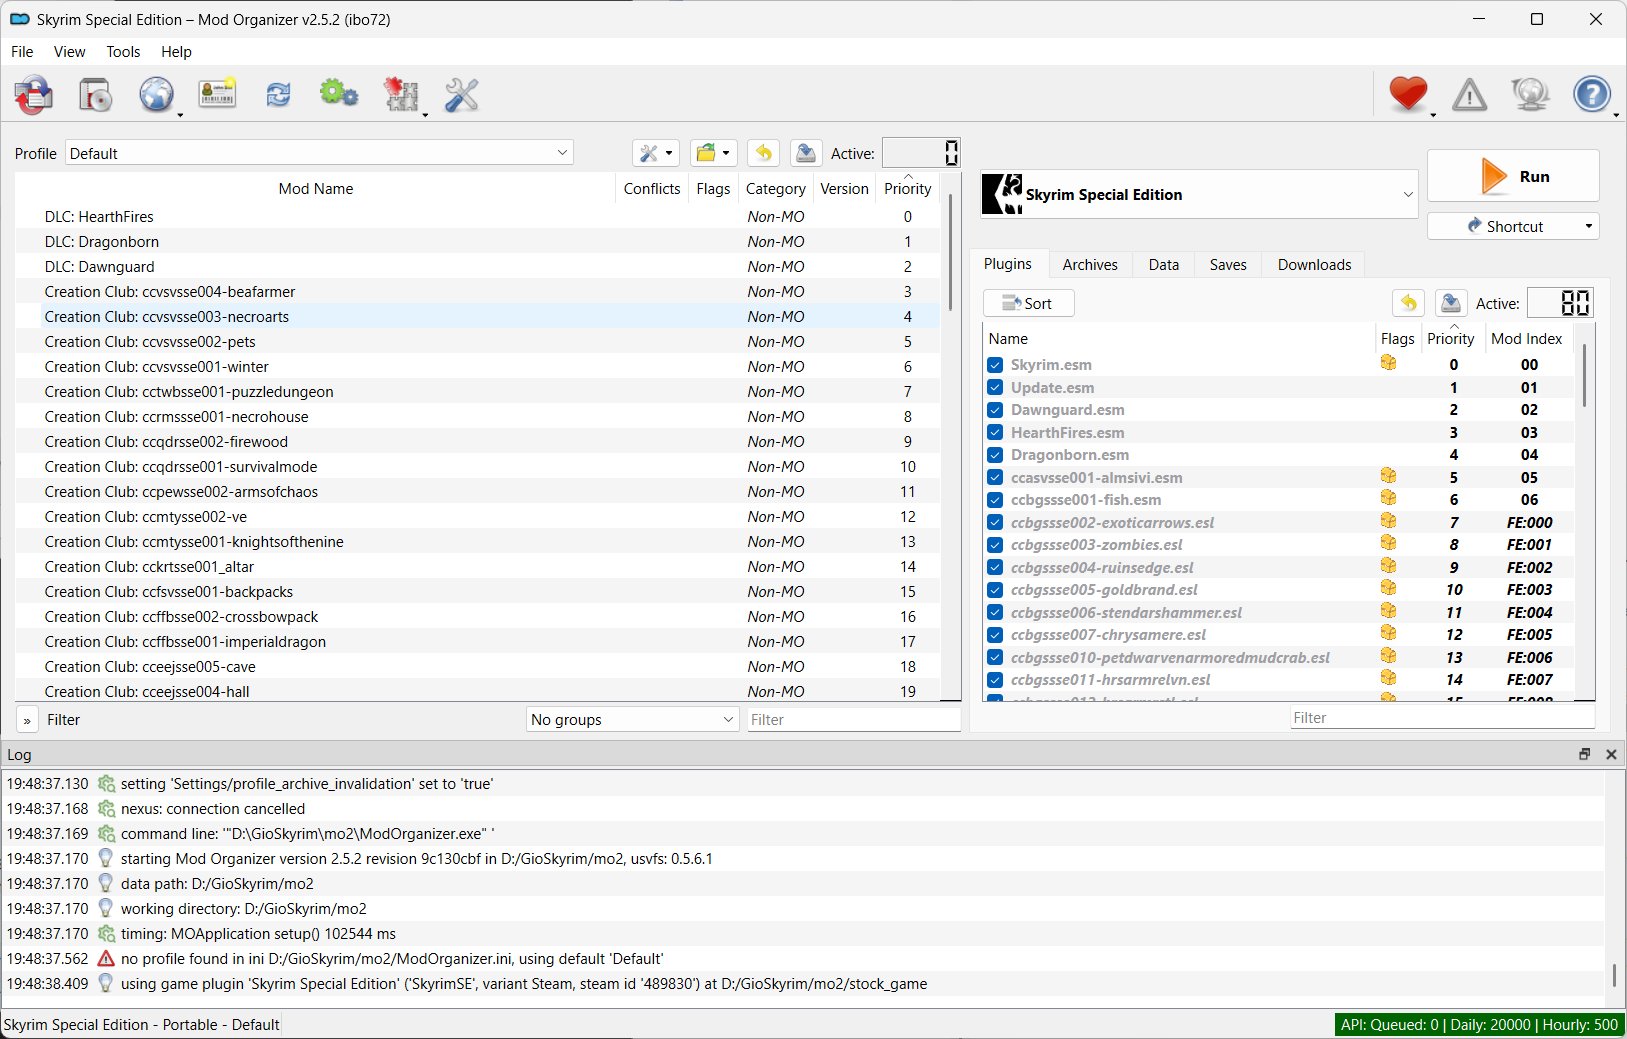
Done
The MO2 portable setup is now ready.
Tree snapshot
Make a tree snapshot and check what has changed.
Inspect what changed
You can use diff, grep and cut to get the list of changed files:
diff -u0 --ignore-all-space '....sha1' '....sha1' | grep -v '@@' | grep -v '^---' | grep -v '^+++' | cut -b1,44- -
+ModOrganizer.ini
+categories.dat
+logs\mo_interface.log
+logs\usvfs-2025-08-19_16-48-37.log
+nexuscatmap.dat
+profiles\Default\archives.txt
+profiles\Default\initweaks.ini
+profiles\Default\loadorder.txt
+profiles\Default\lockedorder.txt
+profiles\Default\modlist.txt
+profiles\Default\plugins.txt
+profiles\Default\settings.ini
+profiles\Default\skyrim.ini
+profiles\Default\skyrimcustom.ini
+profiles\Default\skyrimprefs.ini
+webcache\data8\9\-1sducl9.d
+webcache\nexus_cookies.dat